


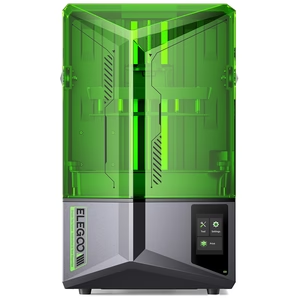

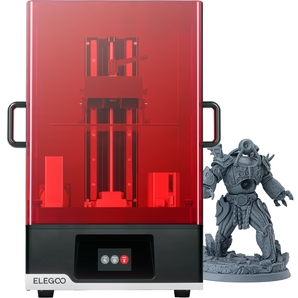


Resin 3D printing offers incredible detail and quality for your prints, but it requires a good understanding of the entire workflow to get great results. This guide will walk you through the essential steps from preparing your file, slicing it, printing, to post-processing with curing based on ELEGOO SatelLite slicer and Saturn 4 Ultra printer.
Video Guide
Additionally, you will need to prepare a 3D model file ready for printing. You can find 3D model in model libraries. These files usually come in .stl, .obj or .3mf formats.
1. Slicing Your File
● Set up the correct settings: Choose ELEGOO Saturn 4 Ultra profile, and import the resin settings for the specific resin you are using.
● Import the model into the slicer: Go to "File" > "Open File", select your model and click "Open".
● Orient the model: Place it at a proper angle on the build plate to reduce the support contact area and improve resin flow. The surface with more details should be oriented upwards. Otherwise, support structures may obscure the features.
● Hollow the model: Click "Hollow", and then adjust the thickness of the shell. Thicker shells generally make the model stronger.
● Add holes to the model: To prevent the formation of a vacuum zone in the center of the model and make cleaning easier, it is necessary to add at least 2 holes on hollowed models. Click "Holes" and adjust the "Extension Length". Add two holes at the bottom of the model.
● Add supports: Resin prints requires supports to hold overhanging parts. Click "Support", then click "Generate Automatic Supports" to add supports for the model's overhanging area.
● Slice and export: Click "Slice" and "Save Sliced File". Then Click "Confirm" to save the file to a USB. You can save the file as .goo or .ctb file. Both can be read by Saturn 4 Ultra.
2. Printing
● Add the resin: The resin may settle after prolonged standing. It is recommended to shake the resin bottle before use. Pour the resin into the tank and make sure not to exceed the maximum fill line of the tank.
● Start the print: Insert the USB drive to the printer and initiate the print. Keep the cover closed while printing.
3. Post-Printing: Washing
● Remove the print carefully: Put the resin tray at the designated mounting position. Remove the build plate and use the shovel to detach the model from the build plate.
● Remove supports: Use diagonal pliers to carefully cut supports without damaging small components.
● Wash in isopropyl alcohol (IPA) or resin cleaner: Soak or gently agitate the model for 2-5 minutes to remove uncured resin.
● Dry the print: Let the print air dry or use compressed air to avoid water or alcohol marks.
● Sand the print: Cut off leftover supports in detailed or hidden areas. Use sandpaper to smooth out any remaining support marks.
4. Post-Curing
● Why post-cure? To fully harden the model and improve strength and stability.
Use a UV curing station: Place the model at the center of the curing carousel, close the lid. Set the appropriate time and click "Start". Cure time usually ranges from 2 to 5 minutes depending on the model’s size.
5. Cleaning the tank and build plate
● Drain the resin from the tank: Place the resin bottle on the resin filtering and collection rack and put on paper funnels(if you have).Remove the tank mounting screw. Pour the resin through the funnel. Use a plastic scraper to clean the remaining resin in the resin tank.
Clean the tank: Spray a moderate amount of alcohol into the tank and wipe it clean with tissues.
Clean the build plate: Remove the build plate and spray it with alcohol. Wipe off any remaining resin with tissues.
Tips for Best Results
● Always wear gloves and work in a well-ventilated area.
● Store resin away from sunlight and within recommended temperature ranges.
● Keep the tank clean to avoid print failures.
● Test and adjust exposure times to find the best settings for your resin and model.


