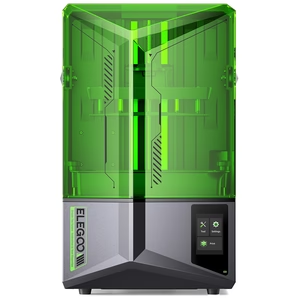
If your Saturn printer needs to replace the constant current board, please follow the steps below.
Tools you need: 2.5mm Hex Wrench, 2.0mm Hex Wrench
STEPS:
1) Unlock the screws that lock the right-side shell and remove this part of the shell.
2) Gently unplug the cable of the LCD screen from the motherboard.
3) Remove the 6 screws that lock the upper shell.
4) Tilt the upper shell up at an angle, then unplug the cables of the motor and the limit switch from the motherboard.
Caution 1: Please be sure to wear clean gloves when removing the upper shell in case of contaminating the lens in the subsequent steps.
Caution 2: The angle you tilt cannot be too large, and you can't lift up the upper shell completely avoid damages to the cables and ports.
5) Remove the screws that fix the bracket of the constant-current board.
Caution 3: Please hold the bracket with your hand while removing the screws to avoid if from falling and damaging any other parts.
6) Unplug the ports on the constant-current board one-by-one.

7) Remove the older board from the bracket.

8) Re-install the new board then lock the screws. Notice: Regarding of the installation direction please refer to the above picture.
9) Re-install the new board then lock the screws.
10) Re-connect the cables to the ports with the corresponding (same) color.
11) Lock the screws that fix the bracket of the board.
12) Re-connect the cables of the motor and the limit switch, then tighten the cables with the black plastic ring.
13) Reinstall the upper shell and lock the screws.
14) Re-connect the cable of the LCD screen.
15) Double-check whether the wires inside will block the light from the lens. If so, please re-organize the cable to avoid affecting printing performance.
16) Reinstall the right-side shell and lock the screws.


