


Welcome to the fascinating world of 3D Printing with ELEGOO! This comprehensive guide will dive into the ins and outs of resin 3D printing and demystify everything you need to know about unboxing, the printing setting, and how to get started.
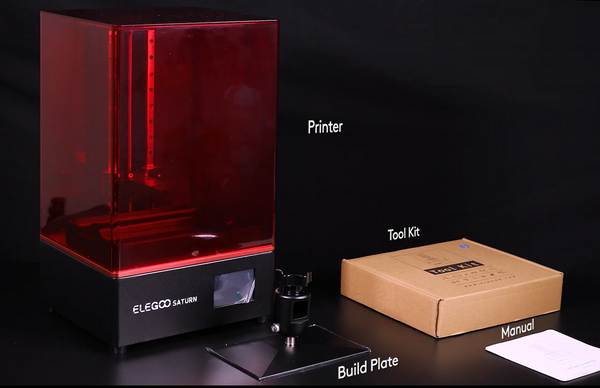
Step 1: Unbox and Set Up to Kick Start
-
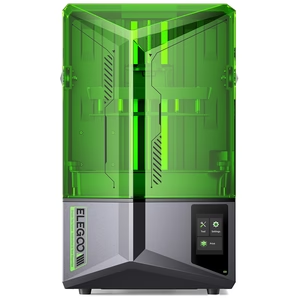
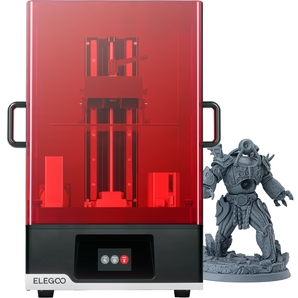
You can check the unboxing videos here to learn how to set up your ELEGOO 3D printer properly and prepare it for smooth printing: Saturn series, Mars series(0:00-5:51)
-
Level the build platform before printing:
It's important to make sure that your build plate is properly levelled and parallel to the screen for the best possible adhesion, which leads to less wasted resin and time. When the build plate isn’t level, it can reduce the adhesion of the resin to make full contact with it, potentially leading to print failures due to suction pressure. Learn how to go through this process with detailed instructions here.

Step 2: Start Your Printing:
-
Before you start printing with resin, wear the safety gear, including gloves and mask we provided in the packing kit, and work in a well-ventilated area.
-
Then gently shake and slowly pour the resin into the tank and then start printing. You can either use the existing files in the USB provided to test-print or visit 3D printing open source platformsthat will help on your journey: My Mini Factory, All3DP, Cults3D, Thingiverse.
-
Also, make sure to plug in the air purifier for a healthier printing environment.
-
You can watch this video(1:39-2:00) to understand the workflow of printing.
Step 3: After Printing
-
After the machine finishes printing, carefully remove the item with the scraper from the plate, using our one-stop solution - ELEGOO Mercury Plus Wash & Cure Machineto wash and rinse your 3D model.
-
Start to wash your 3D model to get rid of excess resin on it and you should have your gloves on during this process. Next, move onto the post-curing process, you will need to expose your model to UV lights that make it become stronger and stiffer.
-
Check this video with more details to ensure the best quality for your print.

*If the diameter of the model is less than 30mm, it is recommended to allow for a curing time of 2 minutes. It’s advisable to increase the curing time accordingly if the surface structure of the model is complex. (The curing time varies on the printed size).
Check out the below ELEGOO’s collaboration work with other content creators!
-
Elegoo Saturn 3 Ultra - 12K Resin 3D Printer - Unbox & Setup
-
Wish Come True - Elegoo Mercury X Wash & Cure Station for Resin 3D Printers
Lastly, if you encounter issues such as failed prints or warping, don't be discouraged. Troubleshooting involves identifying the problem and making necessary adjustments. Refer to the useful tips below to solve general problems you may encounter while using your printer:
Saturn 3 Ultra, Saturn series, Mars 4 Max and Mars 3.
With these tips and a little practice, you'll be creating amazing 3D prints in no time. Enjoy the 3D printing with ELEGOO!


